 If you would like your own hardcopy of this description, click here
4 Posts
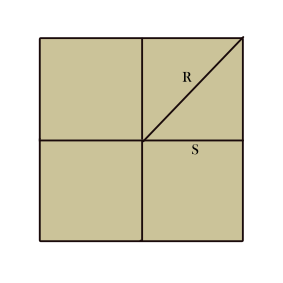
- 360° (full circle) / 4 = 90° (cut angle)
- Assume radius (R) = 2"
- Then side (S) = R √2
= 2″ x 0.7071
= 1.414
6 Posts
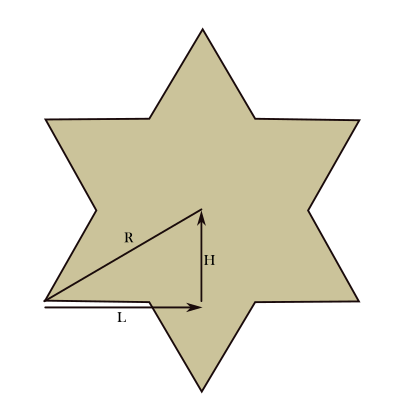
- 360° (full circle)/ 6 = 60%deg; (cut angle)
- Assume radius (R) = 2"
- Height (H) = R sin 30° = 2"
= 2" x 0.5
= 1"
- Length (L) = R cos 30°
= 2" x 0.8660
= 1.732"
- Side (S) = H / sin 60°
= 1" / 0.8660
= 1.547"
= 2" x 0.5
= 1"
= 2" x 0.8660
= 1.732"
= 1" / 0.8660
= 1.547"
Steps and Process:
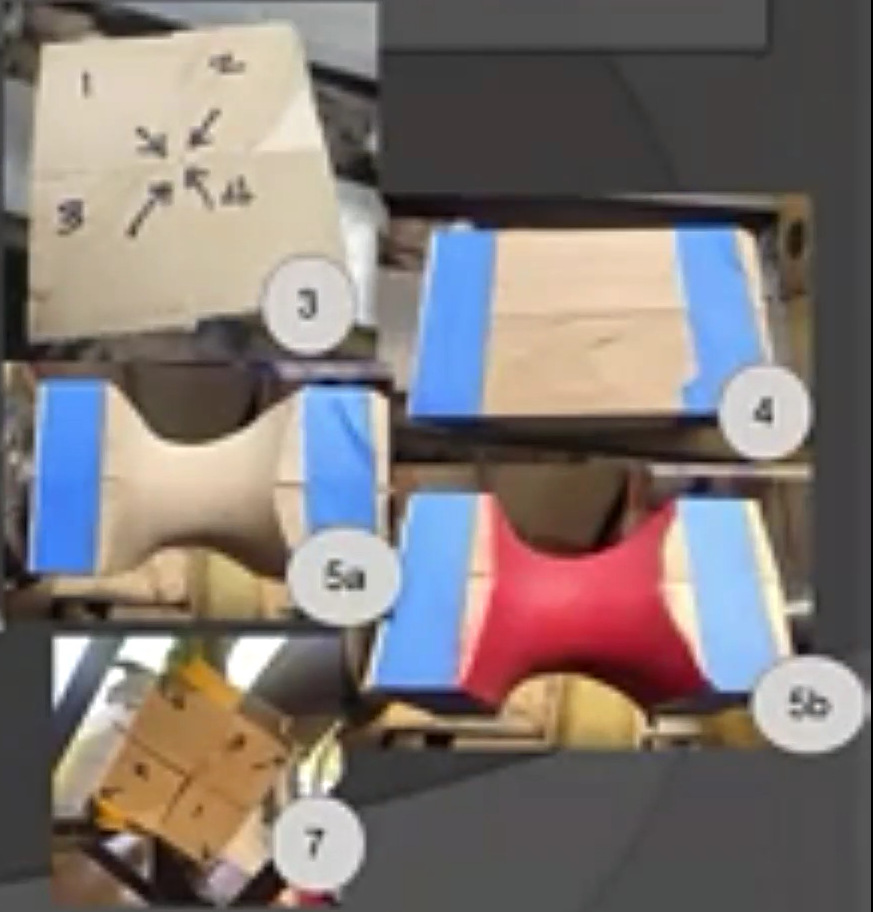
- Using the calculations on the previous pages, cut the necessary sections as precisely as you can.
- Glue the sections together, preferably using paper strips between setions (so that they are easier to separate later).
- Label the individual sections and identify the center.
- Optional: Tape the ends of the section to add strength.
- Turn the inside. sand the inside. Paint/decorate.
- Separate the sections.
- Rotate the sections so the previous centers are pointed away from the center. Clue these sections firmly.
- TUrn the outside. Sand the outside. Finish.
Notes:
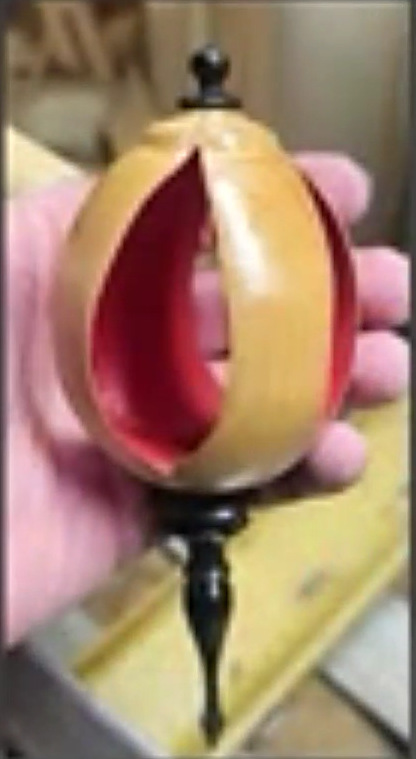
- When using the Math pages, if you want to enlarge or reduce the size of the ornament, just change the Radius (R) and redo the calculations.
- I used Titebond Quick & Thick glue. It dries transparent. Any wood glue should work well also. On the first gluing step, I used basic printer paper and cut 1: stips for gluing between the sections.
- When turning the inside, the outer corners will become the center. So, pay attention the the chape of things, Especially at either end of the curves.
- When turning the inside, the closer your curves get to the center the smaller/narrower your posts will be.
- In my demonstration, I turned small tenons so I could drill 2/4″ holes for my top and bottom finials. Depending on how you plan your ornament, this step may be optional. This is just how I make these. The finial outer turning could be done between centers.
- Another option is to change the shape of the posts. The posts contours are on the center clue line, so you could for instance make these in the shap of a snowman or pin tree.
