 If you would like your own hardcopy of this description, click here
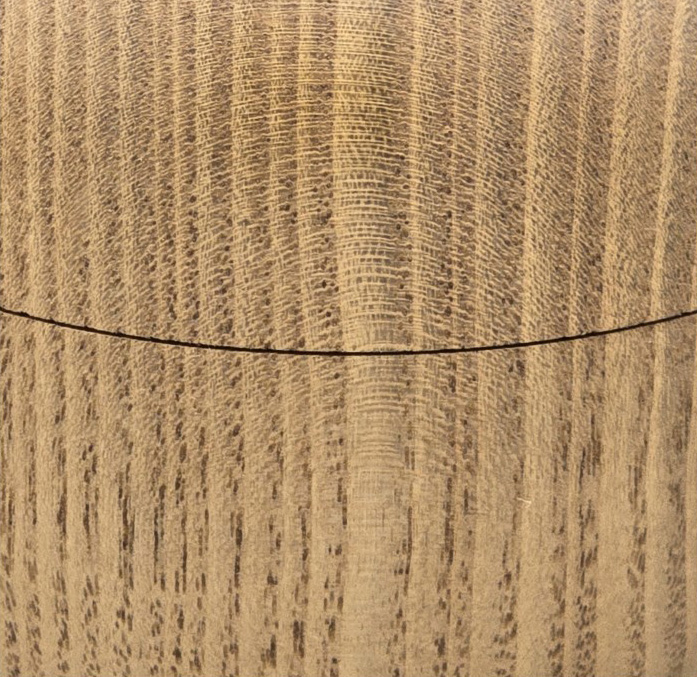
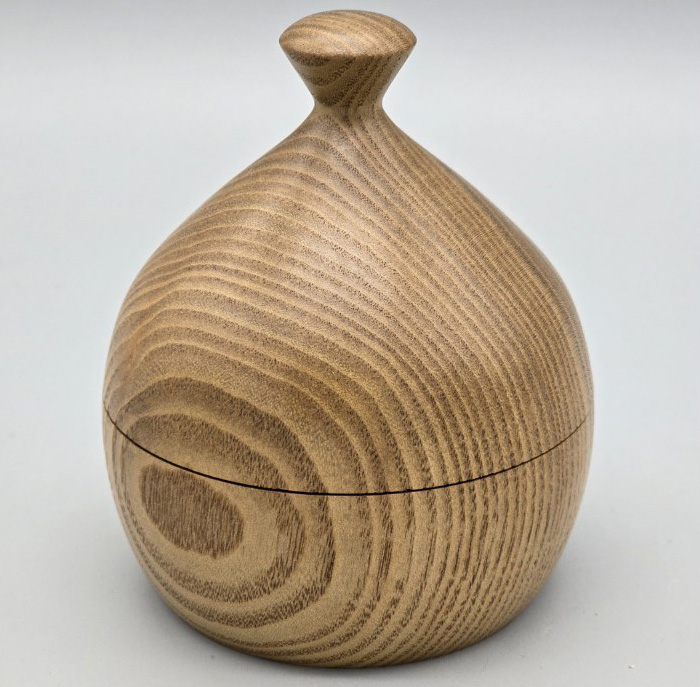
One of the challenges of turning a lidded box in spindle orientation is aligning the grain from the top of the piece to the grain in the bottom of the piece. This is difficult because you must remove a segment of material in order to create a mortise and tenon joint for the box to function. The more material you remove, the more difficult it is to maintain the grain pattern from bottom to top of the piece. Your grain match will never be “perfect,” but you can achieve a very close alignment from top to bottom of a piece.
One workaround is to create a mortise in both halves of the box, and glue a tenon insert into one of the halves, therefore minimizing the amount of wood removed from the middle of the piece where it’s parted. This works, but may not be as appealing as turning the entirety of the box from a single piece of stock.
Timber selection can help resolve grain matching issues. Woods with long, straight grain structures align more accurately than heavily figured wood. You can grain match figured woods, but they don’t match as consistently as straight grain.
For this example, I chose a piece of sassafras. Oak (especially quarter sawn), ash, and cherry (cut from the trunk, preferably) also work well to achieve the grain match effect. You can match spalting patterns, but they almost never align as well as clean, long grained wood.
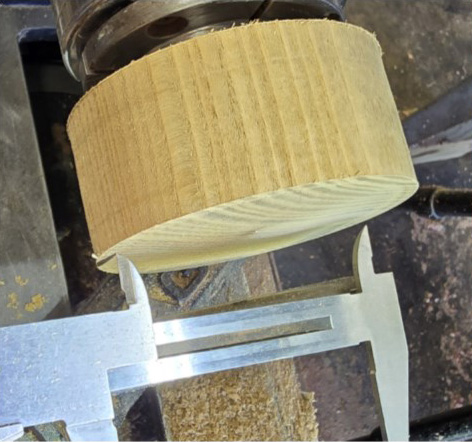
- Start by preparing your blank between centers in spindle orientation. Turn it round, the closer to a true cylinder, the better
- Put tenons on each end to hold the piece in a four-jaw chuck.
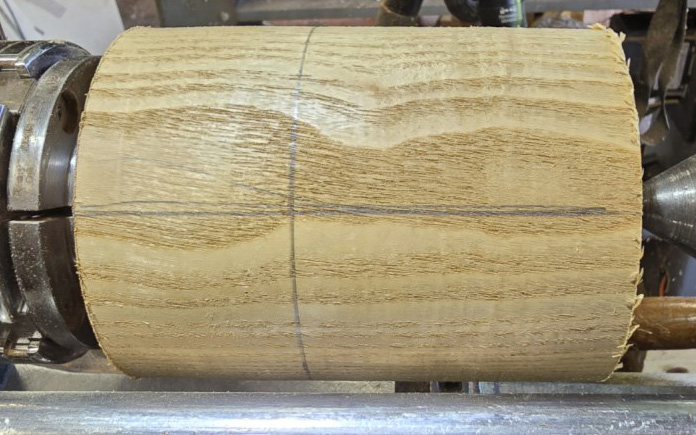
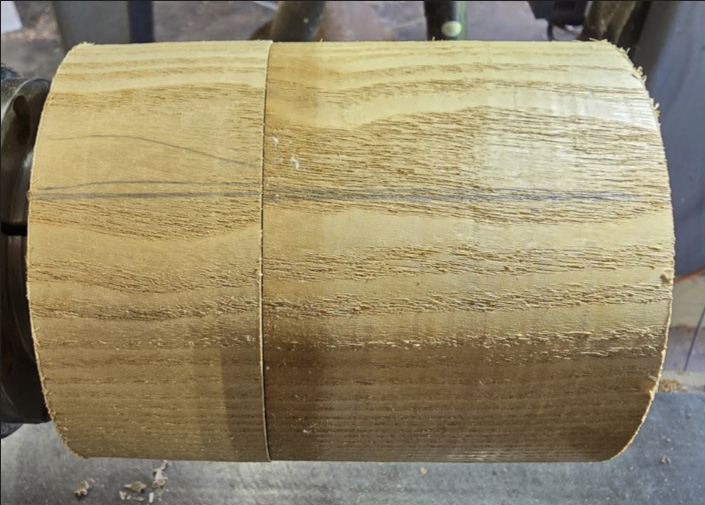
- Marking your layout is helpful (see above). This includes a horizontal line from top to bottom of the piece (left to right between centers). This isn’t 100% necessary, however, it helps you maintain the grain orientation throughout the turning process.
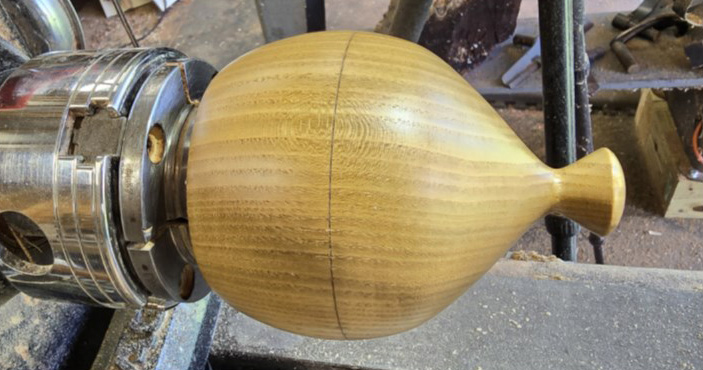
- Mount the piece in your chuck, keeping the tailstock up while parting the halves of the box.
-

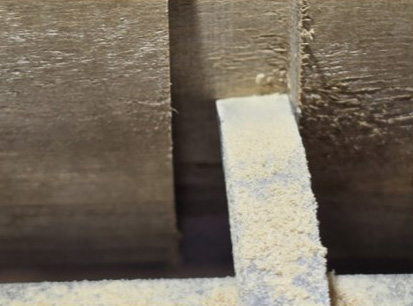
The best practice I have found is to use two different parting tools – one wider to create the tenon, and a thin kerf parting tool to actually separate the two halves. I used a Sorby ¼" beading and parting tool and a shop-made thin kerf parting tool made from a recycled Sawsall blade.
-
Cut your tenon to approximately 1½ the width of the wider parting tool (roughly ⅜" in this case). This gives you a deep tenon for a good friction/suction fit, and prevents the tool from binding in the cut, which can create dangerous catches (photo to the left). At the bottom of the tenon, part with a thin kerf parting tool, again, cutting about twice the width of the tool to prevent binding (Photo left, below).
- Hollow, sand, and finish theinside of the lid. Once you remove this piece from the chuck, you’ll never be able to turn the inside of the lid again, so make sure it’s finished completely. Remove the top, and put the bottom half of the box in the chuck.