Segmented Ring Alignment Jig by Billy Burt

photo1photo3

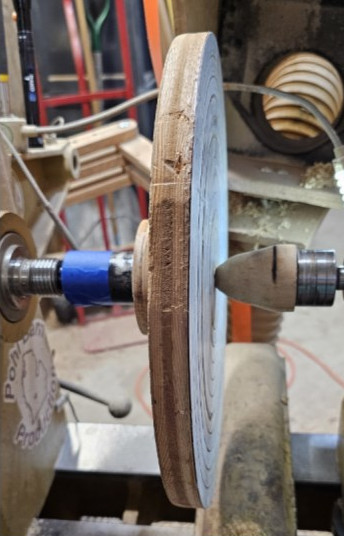
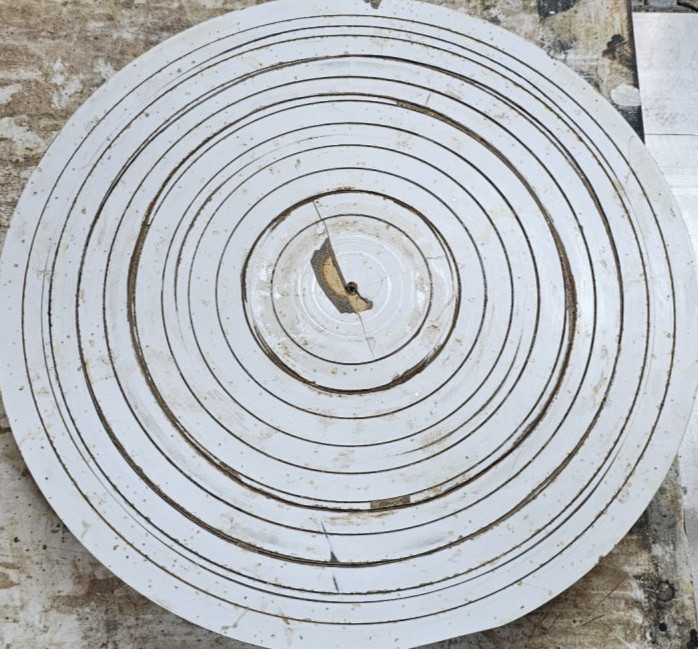
I started with a piece of laminated plywood from an old cabinet. It was only slightly larger than the round piece in the photos.

photo8

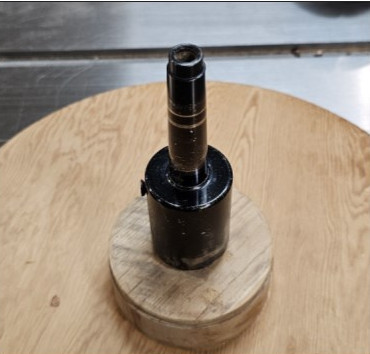
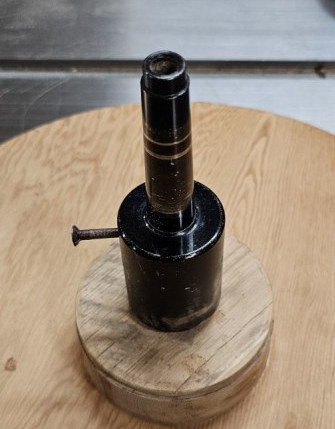
I took a 1-1/2″ x 5″ block of oak and turned it round, making sure both faces were flat and parallel. Then I drilled a 21/32″ hole in the center of one face and tapped it with a 3/4″x10tpi tap occasionally using thin CA to stiffen the oak for threading. After threading I cut a dovetail tenon on the tapped side to fit a chuck with large jaws (~ 4″). I did this to give me diversity in using the piece

Then I located the center on the back of the laminated plywood and glued the oak block on it. The next day I threaded the oak onto my live center. I cut a nail the diameter of the locking hole, and the cut it to the width of the live center (see photos). I secured the nail with blue tape so it wouldn’t fly out when turning.

photo2

photo4

Next, I put the live center Morse taper into the headstock. I put another live center with a wooden “soft touch” on it into the tail stock and moved it up to secure the piece in the headstock (see photos).

Once secure, I turned the plywood round and cut grooves every half inch using a point tool.

I’ve included photos of this jig in action to give you an idea of how I use it.

Photo5

Photo6
Photo7

Leave a Reply

Your email address will not be published. Required fields are marked *