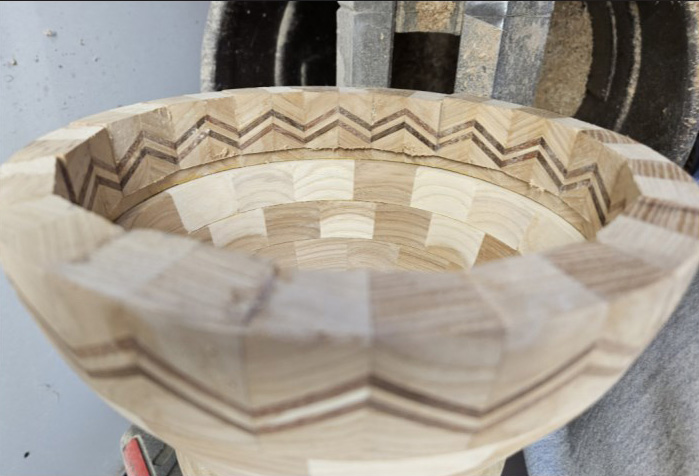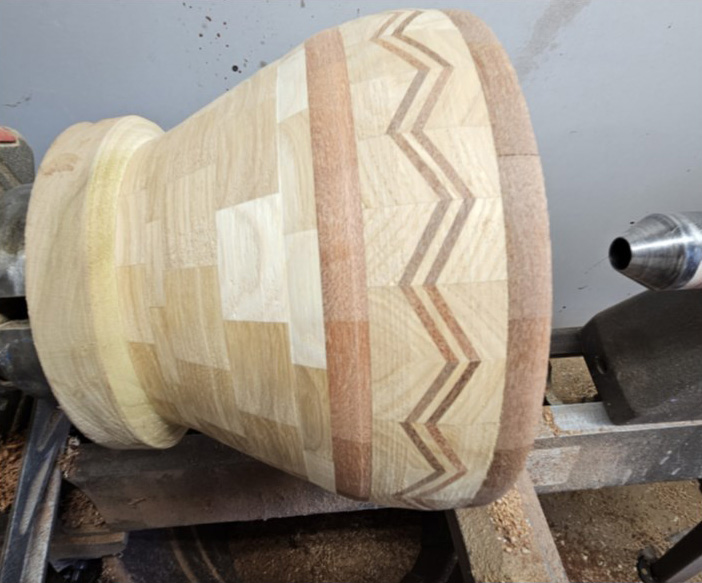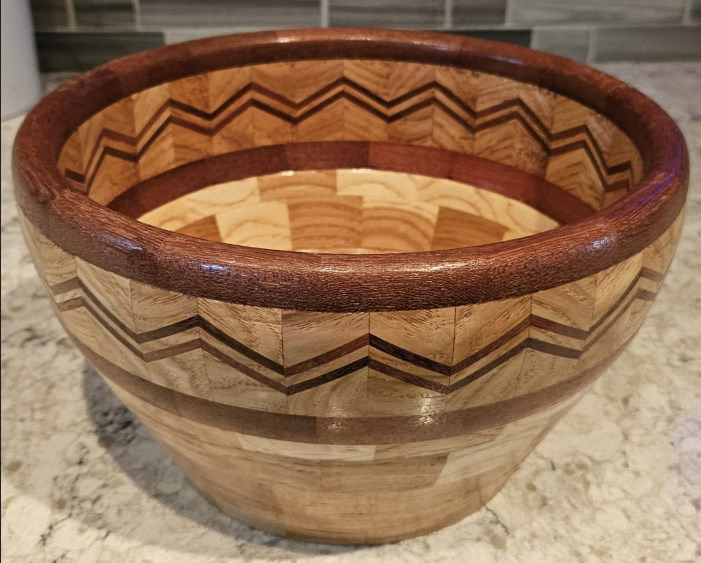
This project begins with planning. Draw your intended design for the bowl or vessel, then make a cut list for the segments to match the drawing.
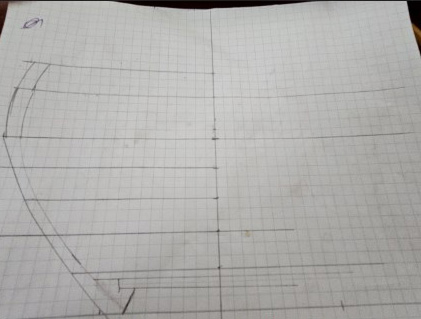
Measure the design ring, decide the width of the segments, and divide it in half.
For this example, 16 angled segments are two inches wide, so I divided them into 1 inch halves (see below).
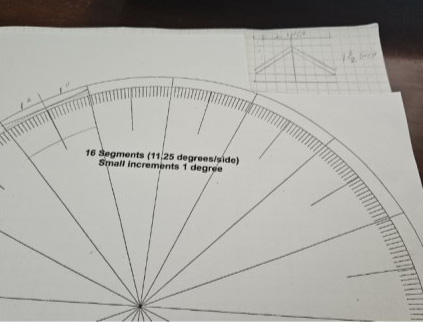
The segments are cut at 11.25 degrees, which total 360 degrees in the full the diameter of the feature ring.
For the zig-zag design in this feature ring, the angle of the halves is 55 degrees (upper right corner of the photo).
Glue up your accent band. Leave it wider than the 1½ inches width
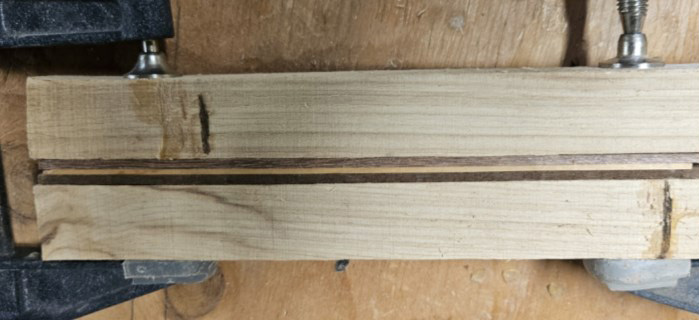
it will be cut down to before being added to the bowl itself.
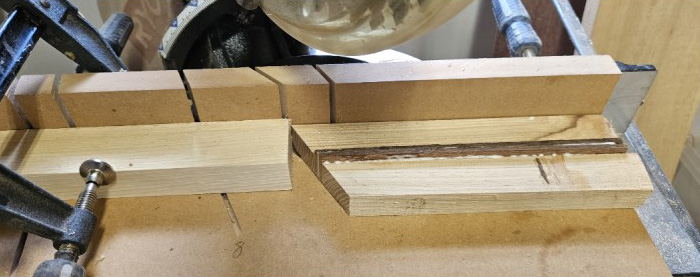
Usiing a miter saw or tablesaw jig, cut the inlay and segments at 55 degrees. Cut 32 of these for 16 glued up segments.
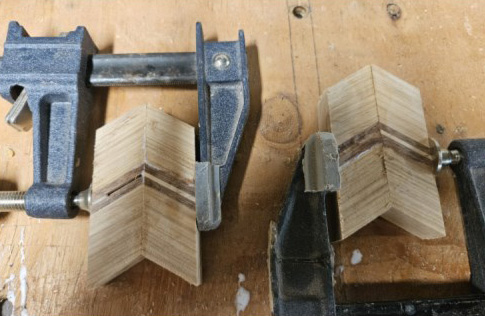
Flip opposing angled segment pieces and glue up each zig-zag panel (below).
Ensure the zig-zag pattern will align correctly, then trim the top and bottom of each segment panel to the desired height of the feature band (1½ inches in this example, below).
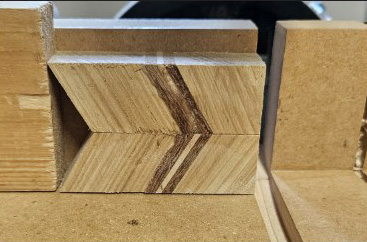
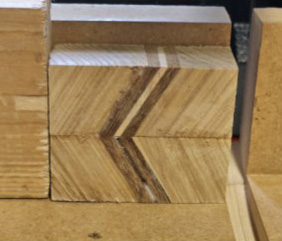
Next, set the miter saw to 11.25 degrees and carefully cut each segment to form a ring on the bowl (photo above, right).
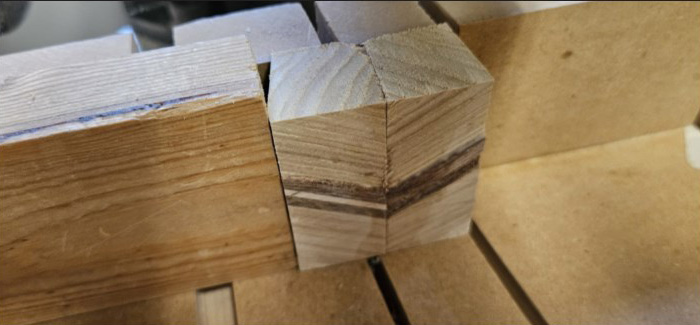
Glue the segmented feature ring together, then add it to your segmented bowl blank, turn and finish as normal (photo below).
