 If you would like your own hardcopy of this description, click here
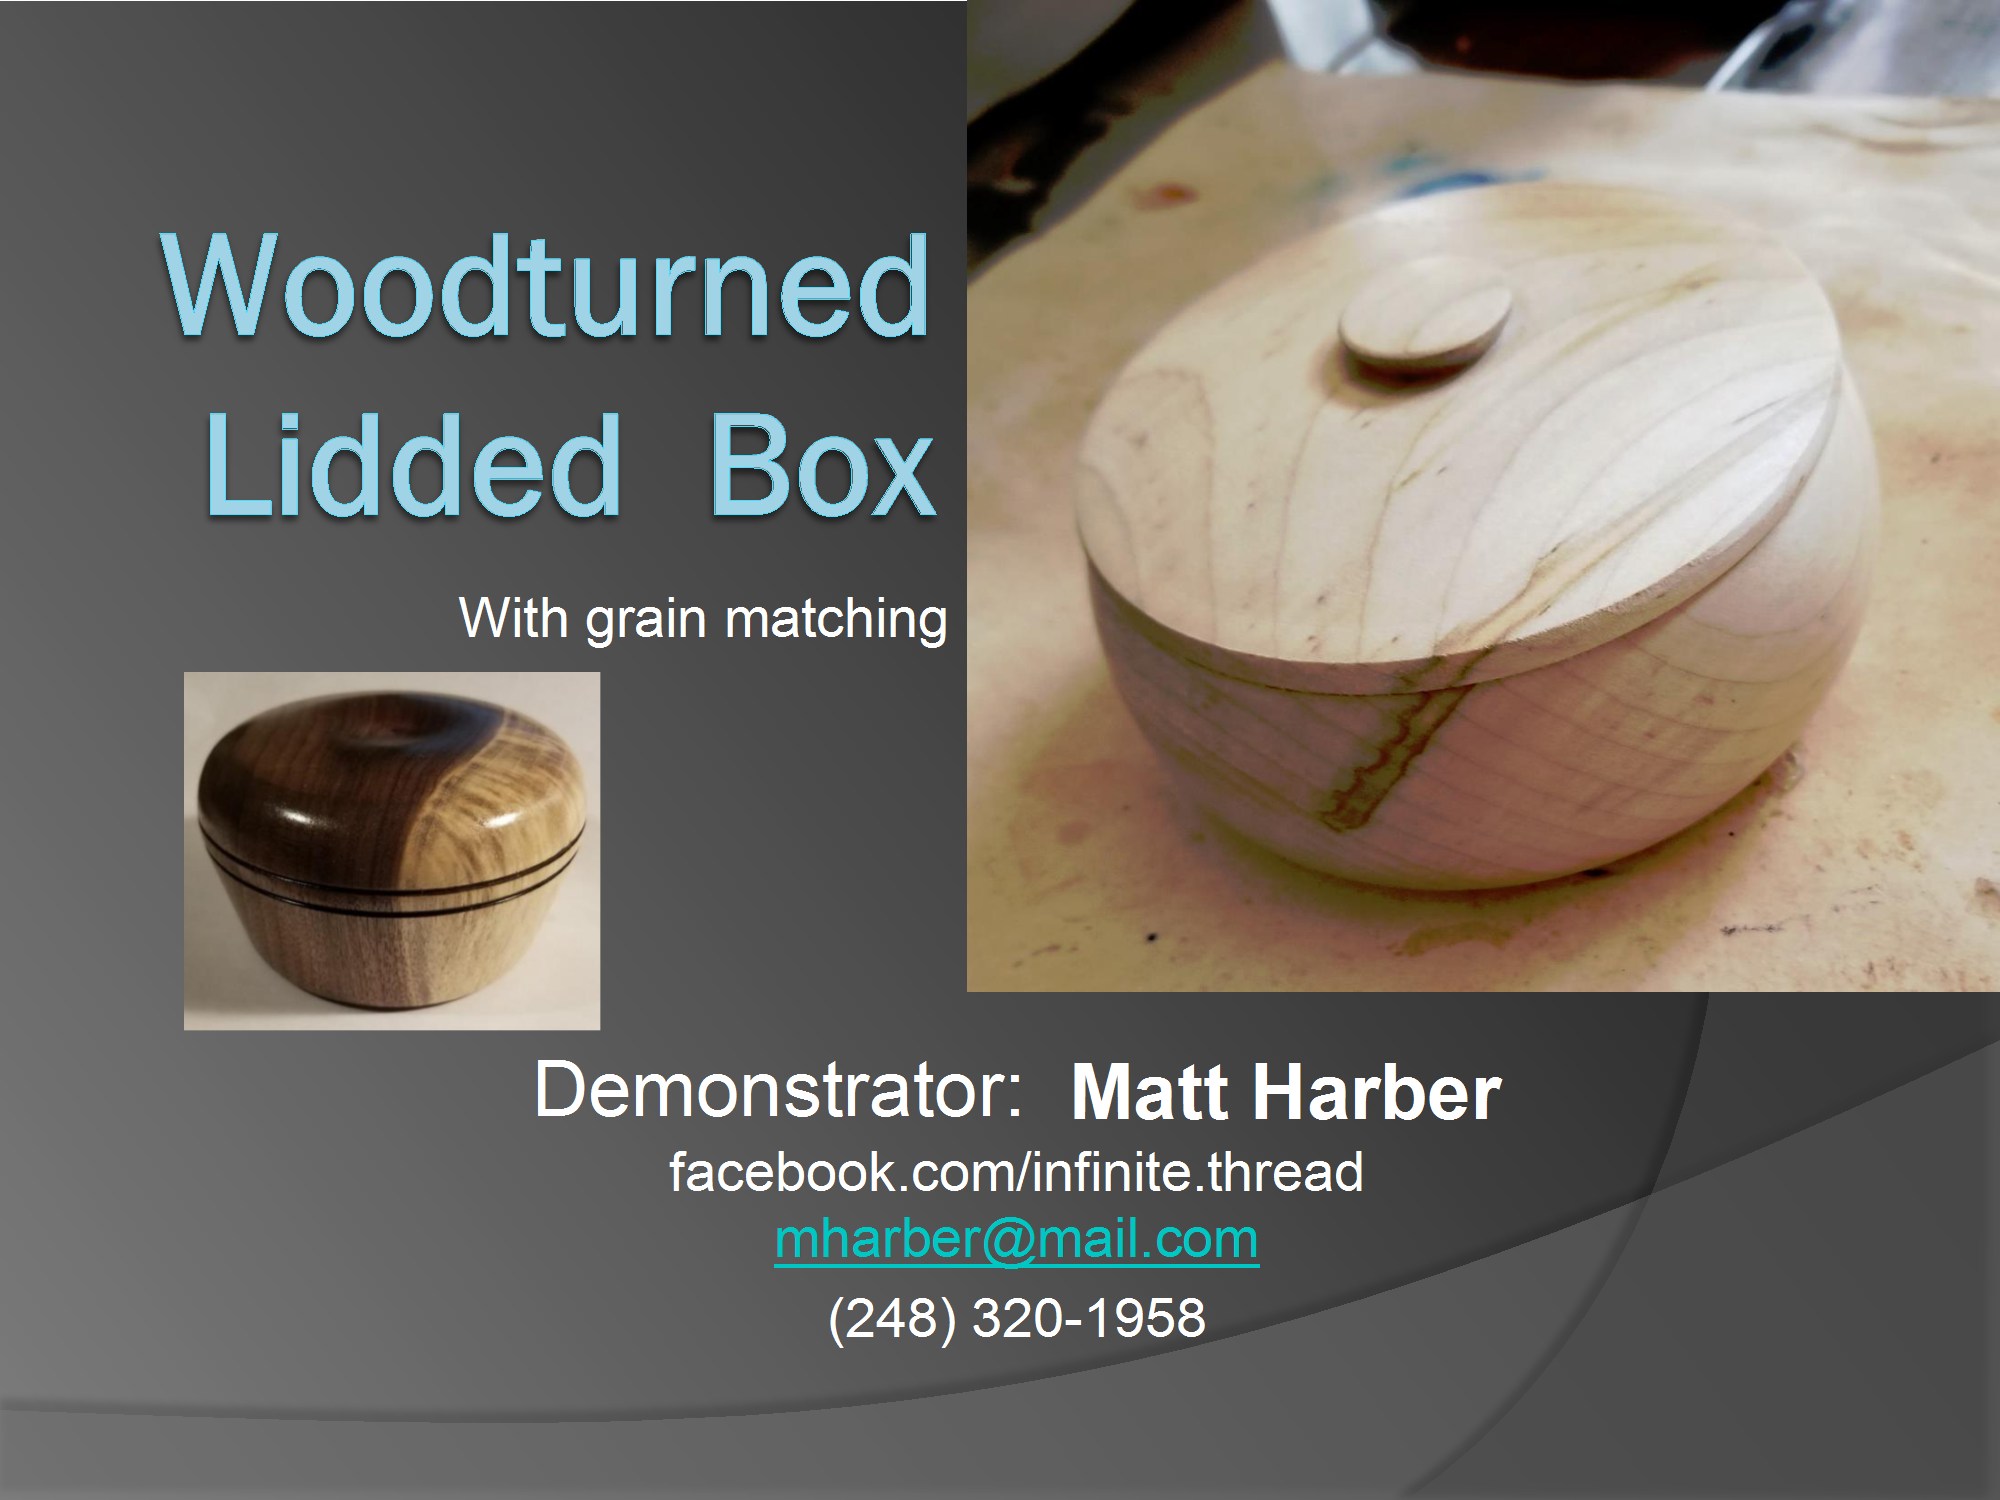
Steps (page 1):
- Mount the wood blank between centers.
- Turn the blank round.
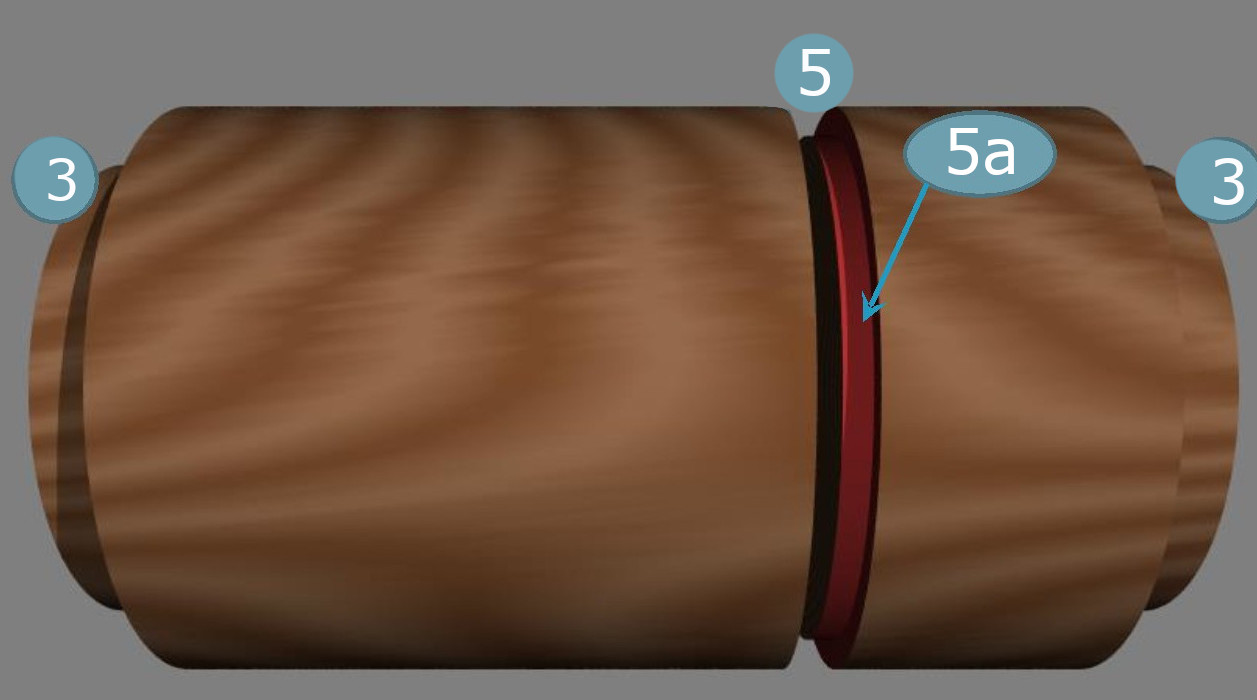
- Turn a tenon on BOTH ends.
- Mount the blank in the chuck, use tailstock support.
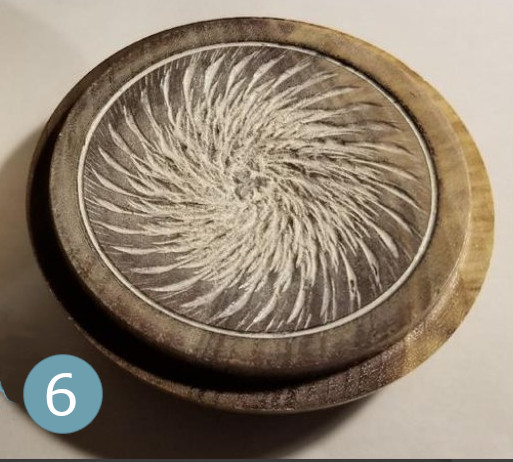
- Separate the lid from the box bottom.
- Turn the tenon on the lid at this time, before separation.
- Be sure to leave room for a knob on top, if you want one.
- Grain matching will be better if you use a thin parting tool and leave the tenon shorter.
Steps (page 2):
- Mount the lid in the chuck, clean up and finish the inside of the lid, including the tenon.
- Mount the box in the chuck.
- Hollow the box bottom and shape the outside.
- Carefully make sure the tenon fits the box snugly. Don’t go too wide on the box interior.
- Leave room to part the bottom off and undercut it slightly
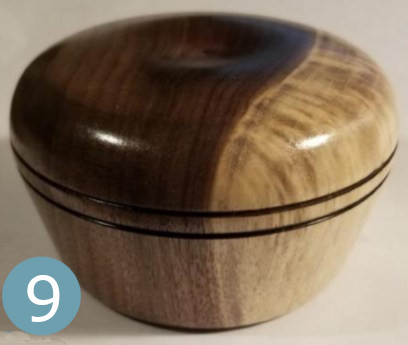
- Put the lid into the box, matching the grain, bring up tail stock support.
- Turn and sand the joint between the lid and box, so they match.
- TAPE the lid to the box securely. Remove the tail stock.
- Turn the top of the lid to final, including a knob if desired.
- Remove the tape and lid.
- Turn the lower part of the box and part off the box.
- Undercutting the box bottom will help it to sit flat on the table.