Its always good to have perspective, not only for yourself, but to enable others to groBow in their turning journey. What I have here are a couple of examples of how I have improved my dyeing & finishing processes along with shape & form. Remember folks: Our Ego is not Our Amigo.
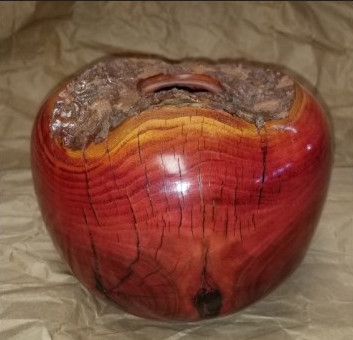
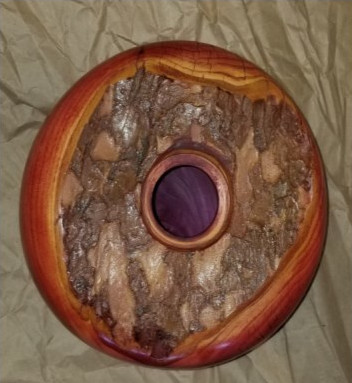
The first example is an Applewood 7.5″ x 5″ closed form vessel, turned green, cracks filled with coffee grounds & CA, then [Rit] dyed red. All kinds of stuff wrong with this, the walls are not turned thin, nor are they consistent; they’re somewhere between 3/8″ – 1/2″ thick with close to a 2″ bottom. It cracked (imagine that) multiple times between turning sessions, and of course I filled them with the age old recommendation of Coffee Grounds & CA. YUCK! I couldn’t even be bothered to make a finial for it, can only imagine what a disaster it would have looked like back then.
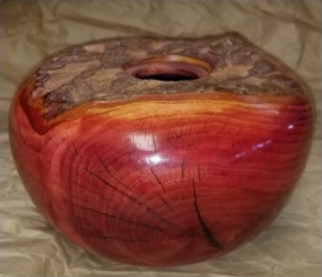
I’m not even sure how I applied the dye on this piece; however it was done, it was done wrong in every aspect. I can tell I didn’t set/seal the dye with BLO & CA; rather, straight to what looks like a few coats of Wipe On Poly. Definitely not the shiny luster that is ever present now in my work. One positive: I did stabilize the bark correctly and there was no tool marks or tear-out on the outside surface. However, there are no smooth surfaces on the inside.
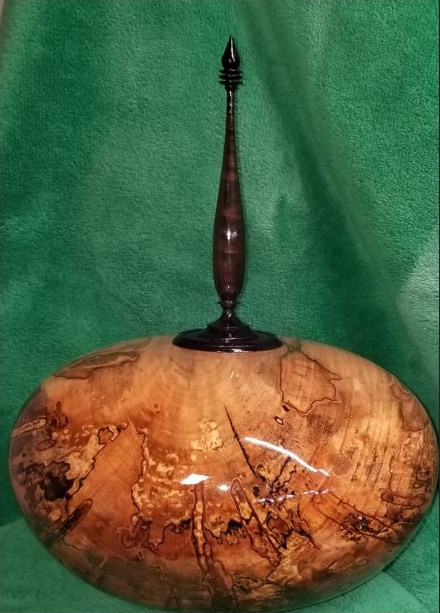
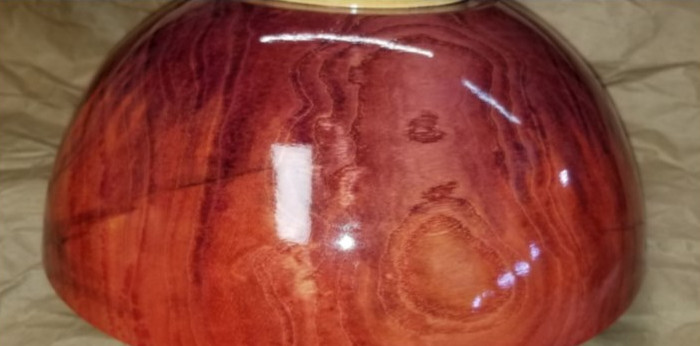
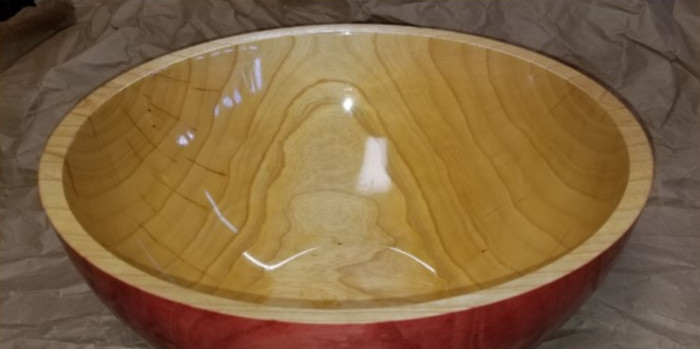
The other two examples show the proper dyeing & turning on a large Applewood bowl (1/4″walls, 13″ x 7″) and a properly turned closed form Spalted Ambrosia Maple vessel (9″ x 5.5″)
turned to 3/16″ wall consistency, with cracks that were filled with crushed charcoal & CA.