
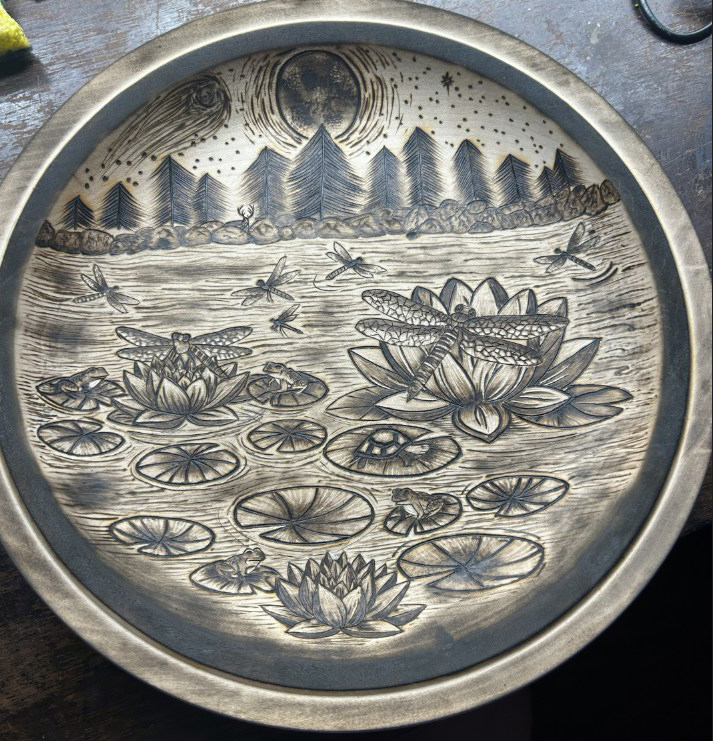
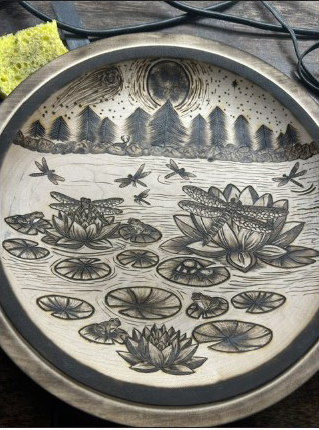
Editor’s note: The following are progressionimages of techniques Nicole shared during her pyrography demonstration in our July 1st meeting. To see where the piece began, go to the Worldwide Woodturners YouTube channel and watch the July 1st demonstration. The completed piece is pictured above.
 In this image, you will see some of the background dragon flies are shaded in using a spoon/scoop shader tip or a medium ball tip. I have also started shading in the lily pads and adding more stars using the same ball tip. Started adding water ripple lines as well. Remember that shading requires a lower temperature than lining, so adjust temperature accordingly based on your desired burn shade. You decide how light or dark you want your shading.
 - Here, you will see more shaded lily pads. I have also started adding texture marks to one of the frogs. In the background, you will see that I’ve started to add texture lines to the rocks and shaded in the deer. Using the same two tips that I’ve used previously on all other steps.
This frame shows all lily pads are now shaded in using a scoop/spoon shader tip, starting from the center of the image, pulling outward toward the edges lightly at a lower temperature. Remember that when you’re shading, never rest the heat source on the surface otherwise it will burn gouge your wood. Also, in this image, I have added texture to the other frog, shaded in the lotus flower, added more water, ripple lines, and texture lines with shading of the rocks in the background. The dragonfly is also now complete with shading.
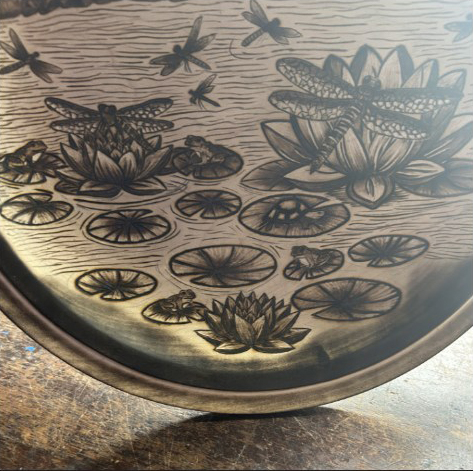 In this image, you will see some of the background dragon flies are shaded in using a spoon/scoop shader tip or a medium ball tip. I have also started shading in the lily pads and adding more stars using the same ball tip. Started adding water ripple lines as well. Remember that shading requires a lower temperature than lining, so adjust temperature accordingly based on your desired burn shade. You decide how light or dark you want your shading.
 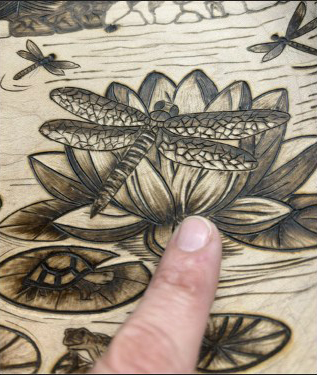 Here, you will see more shaded lily pads. I have also started adding texture marks to one of the frogs. In the background, you will see that I’ve started to add texture lines to the rocks and shaded in the deer. Using the same two tips that I’ve used previously on all other steps.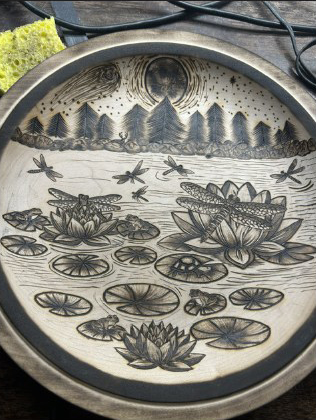
After having shaded in all of the lower details of the image: lily pads, lotus, flowers, frogs, etc., I then moved onto adding some highlights with a slow speed handheld Dremel and the smallest single cut ball carbide burr. Lastly, a small ball diamond bit was used to add highlights to the dragon fly wings by tapping the bit lightly on the part you want to highlight, removing some charred surface
and resulting in a highlight.
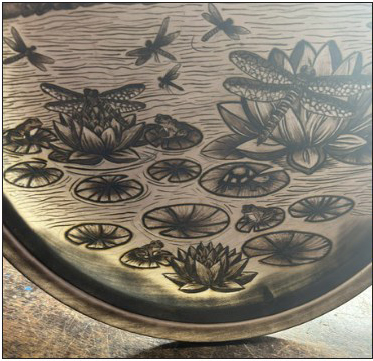
In this next image, you will notice the starry sky is filled in using a ball wire tip and dotting. (Dotting and stippling are not the same) you will also notice all texture lines and shading are complete with the Rockwall in the background, then you will notice more water ripple lines, and lastly, using a ball diamond bit with the slow speed Dremel ts to each lily pad starting from the edge of the lily pad, going into the center of where the burn shade is. Again, pull toward the center while lightly resting the bit on the surface.
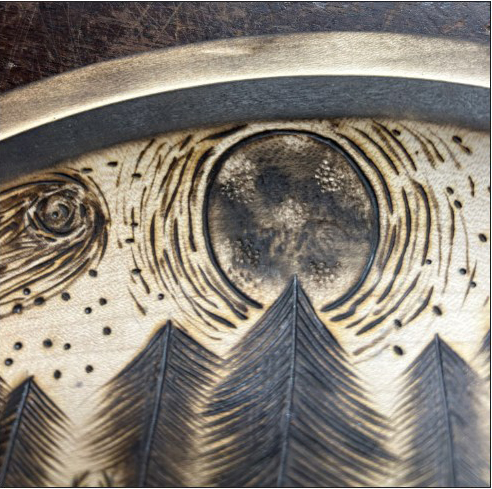
This image shows highlight lines added to the smallest lotus flower, the frogs, and all the lily pads using the same small single cut carbide ball tip in your slow speed handheld Dremel that was used in the large lotus flower. Lastly, you will notice all water ripple lines have been added. At the very bottom, I used a pencil torch, too lightly char the edge of the pond/plate to give the image even more depth and dimension.- In this image, I have moved up to the moon, to add texture and highlight. For texture, I used a small ball, single cut bit. To addtexture using this bit, simply turn the speed up on the handheld and stipple small areasof the image that you want to add texture to (stippling is swift continuous tapping of the burr/bit on the work surface to create dimension with texture) lastly, to add highlight, I used a small ball diamond bit, and once again used a stippling technique.
Just a couple more steps. You’re almost there.
The remaining steps are adding the rest of the water ripple lines. Throughout the project, I have been using a pipe liner tip to add the water ripple lines. (Razor tip can also be used.) but to now add dimension and depths to the water, I will use a shader tip to add thicker water ripple lines in sporadic areas. (again, you are the artist so you decide where these lines go, how dark you want them, and how deep you want them)
Then, finally, I took a pencil torch and slightly brushed over sporadic areas of the water to give it more tone, and make it stand out.