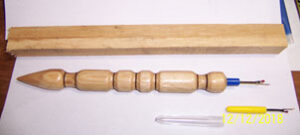
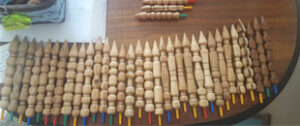
The following articles explains how to build a Seam Ripper/Turner for your favorite Seamstress

- Purchase Seam Ripper, Amazon.com 30 or 48 in a pack (about $0.37 each ripper) or Walmart $1.50 each. Remove the bumps on ripper cap so it will fit in a smaller hole.
- Select a 1x1x11 turning blank wood of choice. Mount on lathe in 4 jaw chuck.
- Drill hole with bit and Jacobs chuck in the tail stock (bit size to accept ripper cap) Hole depth deeper than cap length.
- Turn the blank round until one side still has flat. Use hand held drill with disk sander (220 grit) to make flat side about 1/2 inch wide.
- Turn end at hole to 45 deg. About 7 inches from hole end start taper for turner end, 1-1/4 long. DO NOT turn the complete taper, you will need support for profile turning.
- From hole end, and start of taper, make 1/2 inch knob and 5/8 valley on each end. Profile remaining 4” as desired,
- Sand to 220 including the flat side. Apply sanding sealer. Wire burn as desired. Sand to 320 or 400. Apply abrasive polish, then friction polish, or finish of choice.
- Move tail stock away, sand and finish hole end as desired. Replace tail stock.
- Finish turning ripper taper to point and part off.
- Make a jam chuck from stub in the jaws to fit in ripper hole. Put the hole end on the jam chuck to sand and finish the point, not too sharp.
- CA Glue the cap in the hole.

Make a Seamstress HAPPY.
