
Turning a Multi-Axis Urchin Ornament with Matt Harber
 If you would like your own hardcopy of this description, click here
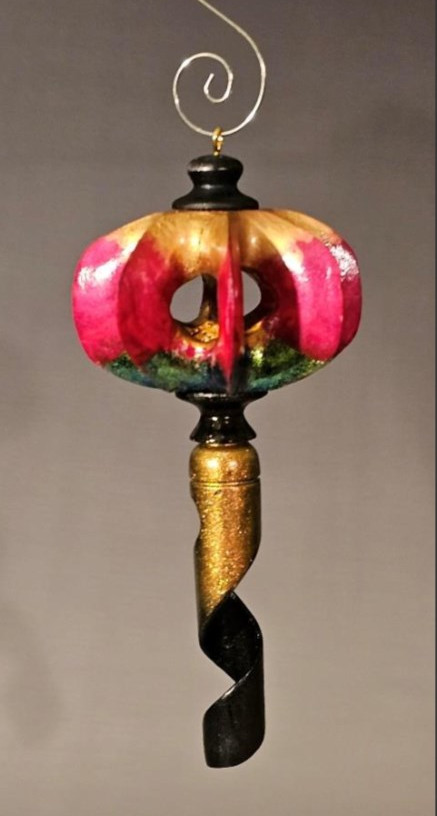
Turning a Multi-Axis
“urchin” Ornament
Based on Videos by
Alan Stratton published on his
“As Wood Turns” YouTube channel
Alan Stratton’s videos:
Using the octagon method to turn a sphere:
Turning the multi-axis ornament:
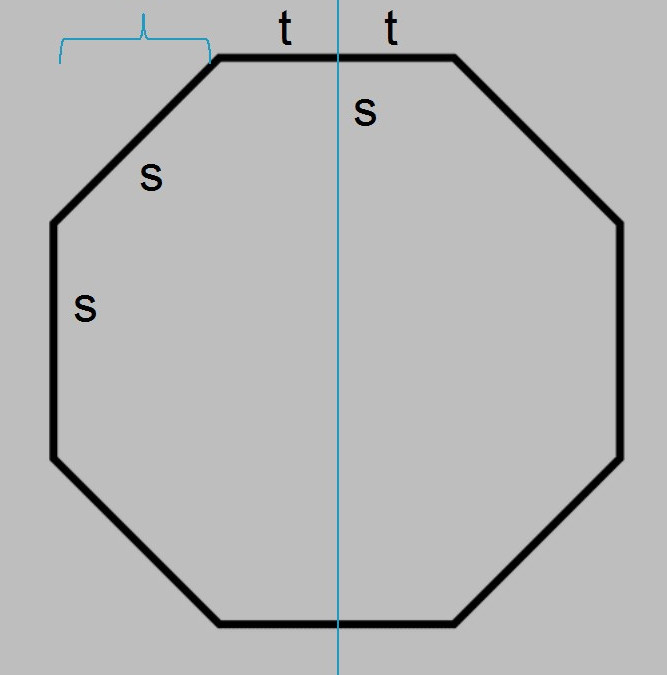
The Octagon Method:
Equations:
- side (s) = diameter (d) x 0.4142
- side/2 (t) = diameter (d) x 0.2071
- angle side (a) = diameter (d) x 0.2929
Example:
Let’s say our cylinder diameter (d) is 4”
Then:
- Octagon side (s) = 4” x 0.4142 = 1.6568”
- Half-side (t) = 4” x 0.2071 = 0.8284”
- Angle side (a) = 4” x 0.2929 = 1.1716”
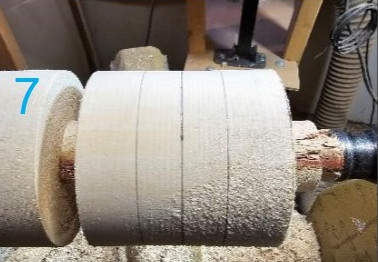
Turning a Sphere Using the Octogen Method:
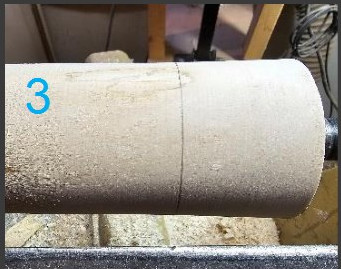
- Turn a cylinder between centers.
- Measure your cylinder’s diameter (d).
- Draw a line near the center of your cylinder.
- Using the equations from the previous page, calculate (s), (t), and (a).
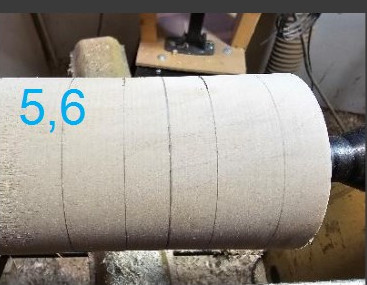
- From the center line, draw a line to either side, using (t).
- From (t), draw a line further out from center in each direction, using (a).
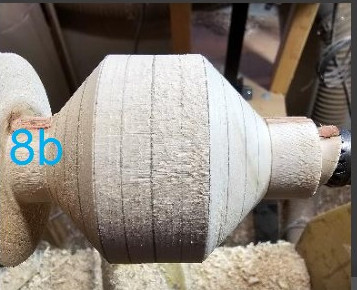
- Set a calipers to (s) width. Turn each side (a) down to (s) diameter.
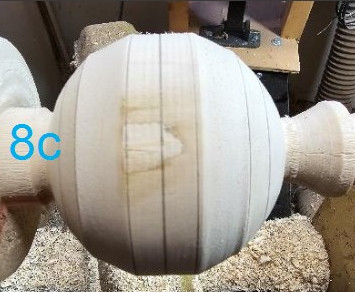
- Bisect each line, turn a flat across these new lines. Round out the remaining cylinder.

Turning the Ornament
- With your sphere, use a Forstner bit to hollow, to remove the tenons. I am using a ¾” bit. I make a small tenon on one side to help drill out the second hole.
- Mount the sphere between centers, use a custom ¾” jig if necessary.
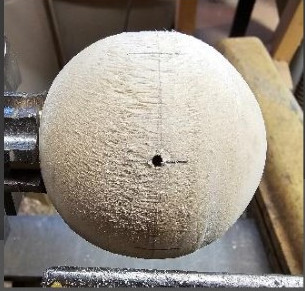
- Using an indexing wheel, mark 8 equidistant points about the center. – Drill out these points. I’ve used a ⅛” drill bit.
- Mount the sphere between two of the drilled points. Use a custom ⅛” jig on the headstock side and a 60° cone live center on the tailstock side.
- Mark a bisecting point on center equidistant between the drilled centers. Draw this line on the sphere.
- Flatten the center facet. Set a depth in the center. I’ve used a parting tool with a piece of tape on it, to keep all sections the same depth
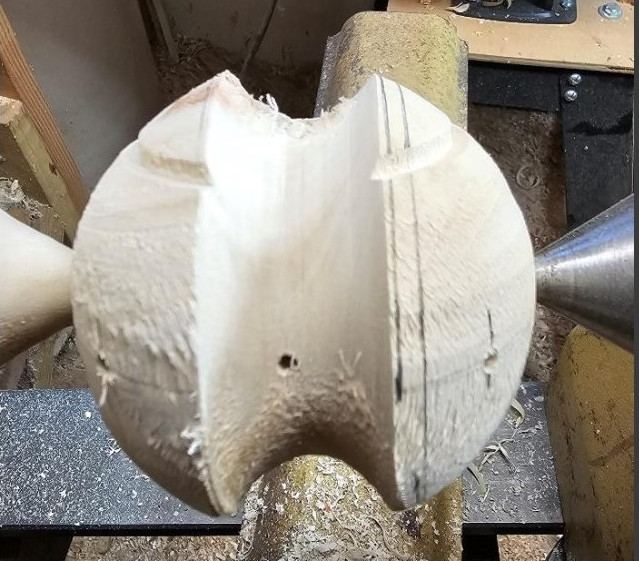
- Turn a cove between the lines to the depth set in step 6 above.
- Repeat steps 4 through 7 for all the other sections.
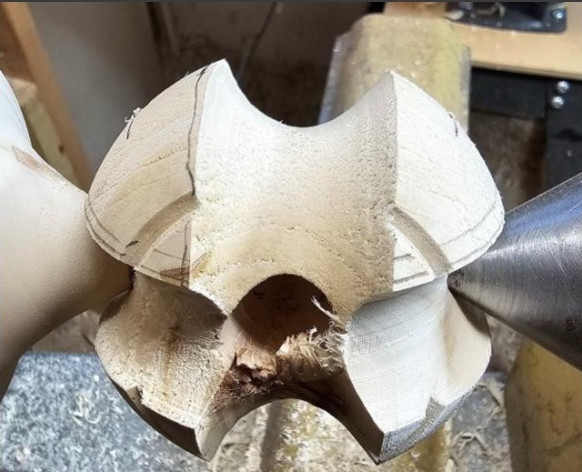
- On the drill press with a Forstner bit, widen each center hole.
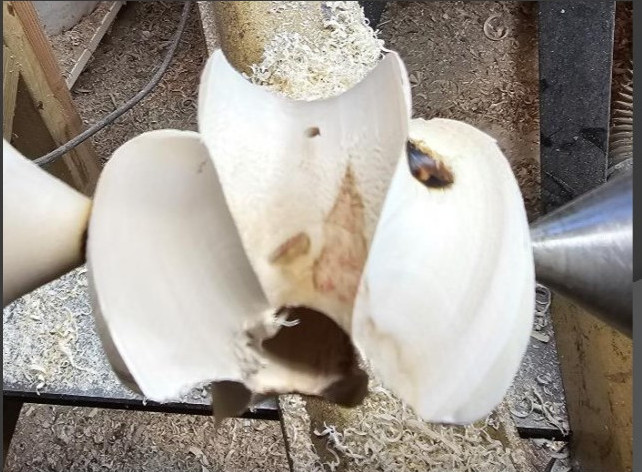
- Using carving and/or sanding tools, widen and smooth/blend the holes.
- Flatten the tops a bit for the finial bases.
Turning the Ornament (pictures):

Notes:
- In the demo, I plan to pull step 3 (marking and drilling the holes) from the multi-axis section into the octagon sphere section, so that I can keep the line and holes on center.
- I also plan to mark the interim centers for later, while I mark the spots to drill the multi-axis centers. I feel that this will make them more precise.
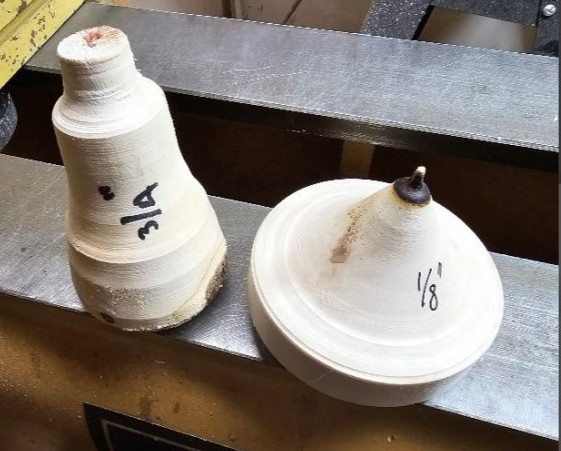
- Below is a picture of the ⅛” and ¾” jigs I use. They both have tenons for my scroll chuck on the bottom. The ¾” one is measured. The ⅛” one is just a point that is altered by the act of using it. You don’t care what happens around the holding points, as that will be drilled or carved out at the end, when enlarging those holes.
.