
If you would like your own hardcopy of this description, click here

Steps (page 1):
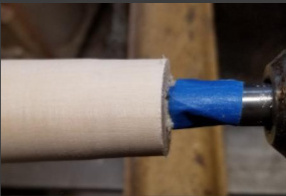
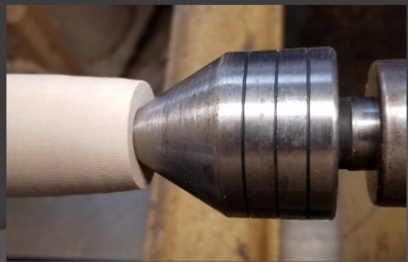
- Turn a tenon on the blank. Mount it in a scroll chuck.

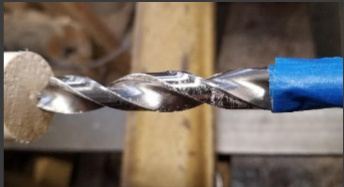
- Drill the blank. I typically use a 1/2″ drill, to the depth of 3″.
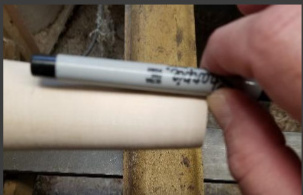
- Physically, measure and mark the depth of the inside hole.
- Use a live center to stabilize the piece, typically a 60º cone.

Steps (page 2):
- turn the barrel down to a comfortable thinness and define the bottom of the ribbon section.
- Turn the bottom features. I standardize all my tenons on finials to 1/4″ thick. I use a 1/4″ wrench as my tenon thickness “gauge.”


Steps (page 3):
- Once the finial is parted off, lay out tape to define the cut/carving lines. Then carve out the finial.


Notes:
- Do not use a small branch for these finials, centering your piece on the pith. There’s a good chance you will destroy your tenon at the end, due to the pith.
- Prior to carving the ribbon out, measure again where the bottom of the interior cavity is, and mark it out on the exterior.
- When carving, remember to plan for the transition from the ribbon to the bottom of the interior.
- For me, so far, the most effective carving tools for the ribbons are the Dremel cutting wheel ( the carbide one, not the cutoff wheel”) and small cylindrical or tapered stump cutters. Phil Stevens used his scroll saw.
- I mostly used Dremel sanding drums to clean up the edges and interior.